
I wanted to make Mini Mug something special for Valentine’s Day, something that I would also make for myself. You see, I will be traveling on Valentine’s Day and won’t be with Mr. or Mini Mug. So I thought a pair of bracelets could be fun. She’ll know I’m thinking of her when I am wearing it during my travels. I thought about making Mr. Mug one as well, but I think he’ll be fine with a phone call.

I found making the holes in the heart beads was cleaner when they were already baked and hard. That’s why I chose the drill. When I used a needle they tended to get a little smushed and misshapen. If you don’t have a drill, a pin or needle will work, you may just need to gently reshape your hearts of they get a bit wonky. It also doesn’t need to be a drill from the 1960’s like mine is.
Before we roll out the clay to cut the hearts, we’ll make a thickness guide so all the hearts are the same size. I did this by taking 2 craft sticks and taping them together.


Having a set of sticks on either side ensures that the clay will roll out evenly.


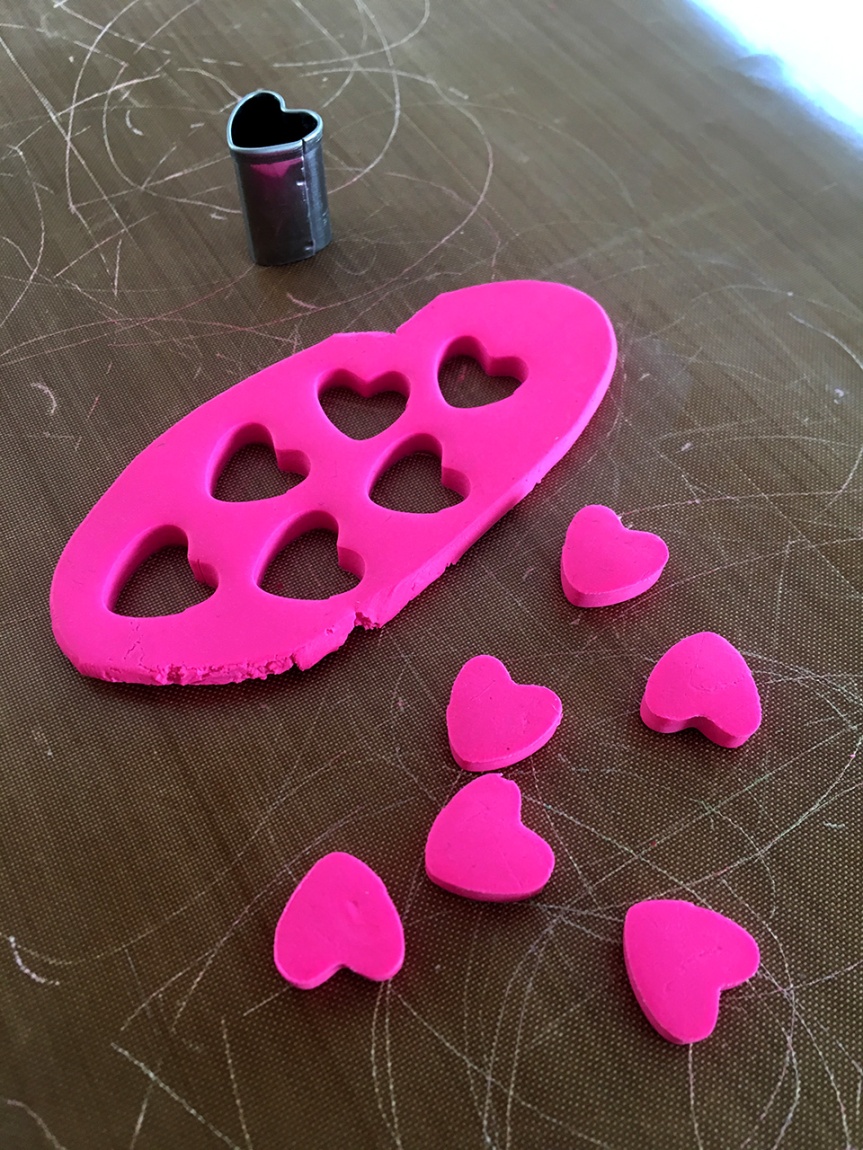
Now we’ll cut the hearts out of the clay.

If the clay gets stuck in your cutter, which mine did a lot, you can use the eraser end of a pencil to gently nudge it out.

Once you have all your hearts cut, bake them according to the packaging instructions.
After the hearts have baked and cooled, it’s time to drill your holes. If you’ve already made your holes before baking, you can move on to stringing.

I found using a set of pliers held the hearts just the right way for me to align the drill bit and keep it straight.


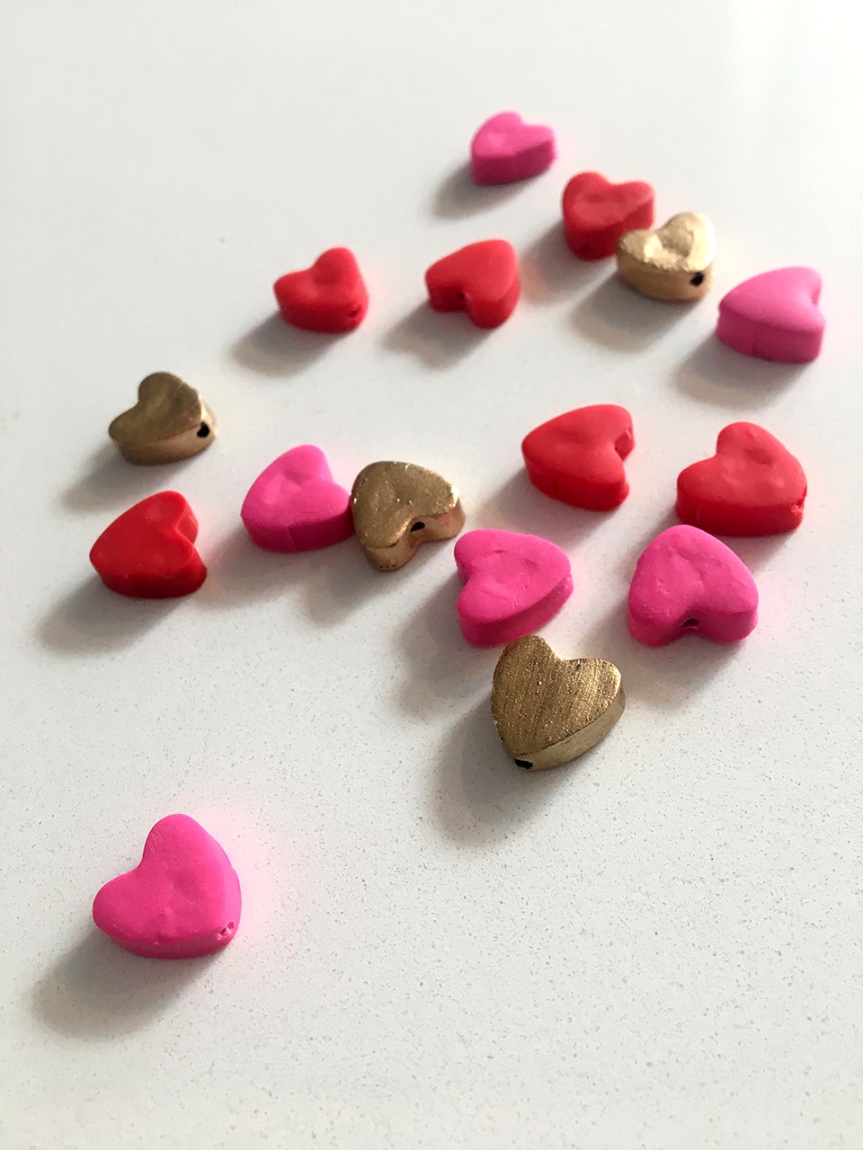
To make my gold heart beads, I used black clay and applied gold enamel paint. I drilled the holes first and set them on toothpicks which allowed me to easily paint all sides and stick them into extra clay to dry.


Once all your beads are drilled, it’s time to string them onto your elastic.
I quickly became aware that a needle would work best for getting my beads onto my elastic. I realized this after I took my supplies photo, so apologies for it not being included. I also doubled my elastic for added strength, because you know when Mini Mug wears this bracelet to school all the other kids will be pulling at it, wanting one of their own because it’s that cool!

I also laid out my beads in the order that I wanted them on the bracelet, which helps keep your pattern correct.
I made a triple knot at the end of my elastic. I tripled it so the knot would be large enough to hold the beads. This will depend on the thickness of your elastic, and the size of the holes in your hearts (well now that’s not very Valentines-y, is it?)


String your beads on until you have the length that you want and then tie it off.

Again I used a triple knot to hold the ends together. Those first-grade children are strong!


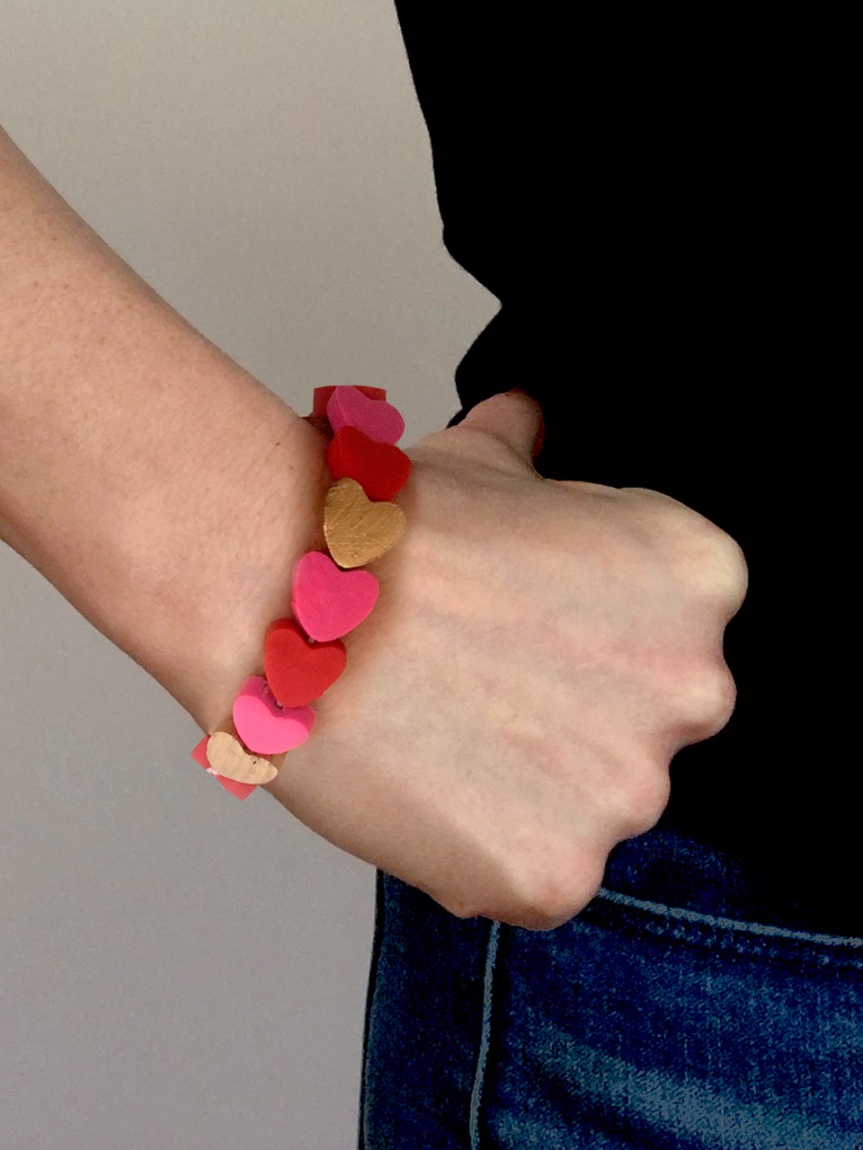
The red, pink and gold one is for me, and the rainbow one I will leave for Mini Mug before I head to the airport on Valentine’s morning.

I think she’ll really love it.

And I hope she’ll feel special knowing that her and Mommy have twinner bracelets :).


Such a great project, Les! The rainbow one reminds me of something we had as kids (probably from one of the flea markets).
LikeLiked by 1 person